We built $VIBECOD
with our own platform
From a single sentence to a live, verified ERC-20 token on Base. Here's every step — exactly as it happened.
ⓘ This is an early test deployment used to validate the platform — not the current official $VIBECOD token. The process shown is identical regardless of supply or tokenomics.
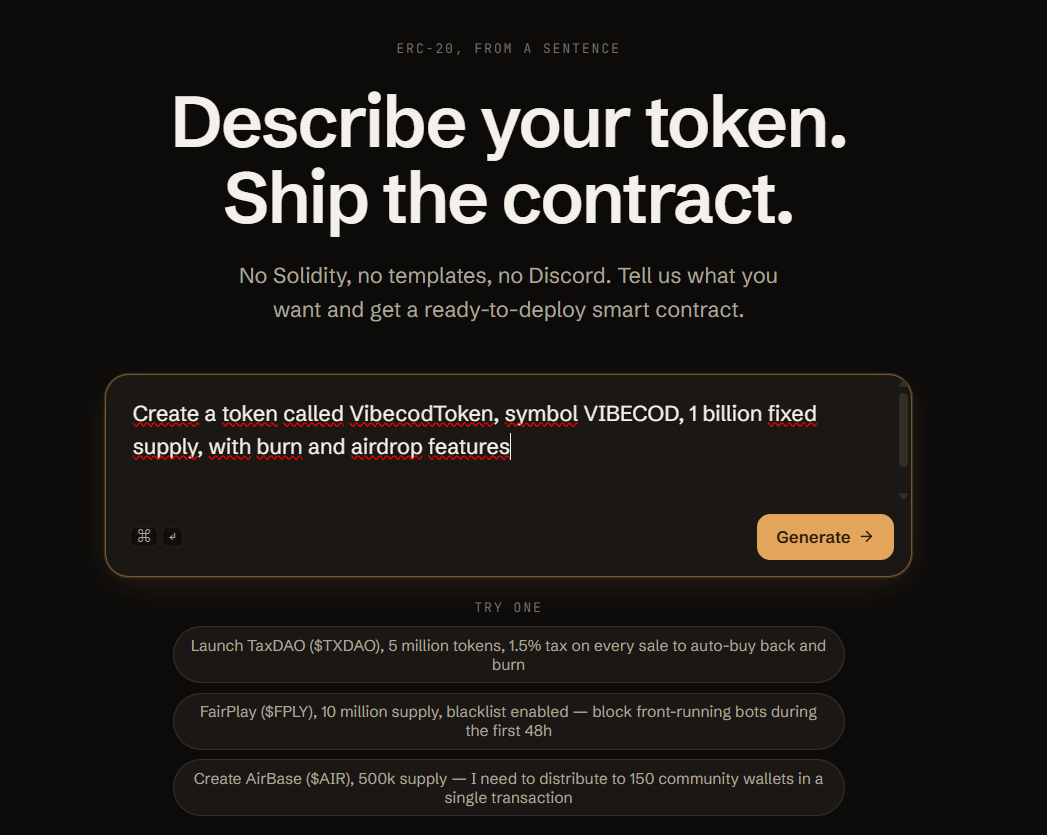
One sentence. That's all it takes.
We went to vibecod.io and typed a plain description of what we wanted. No Solidity knowledge required — just write what your token should do.
The contract is assembled — instantly.
VibecodAI extracted our intent and selected the right Solidity modules. A second later, the compiled contract appeared with a full summary. Everything was editable before deployment.
VIBECOD 1,000,000,000 — fixed 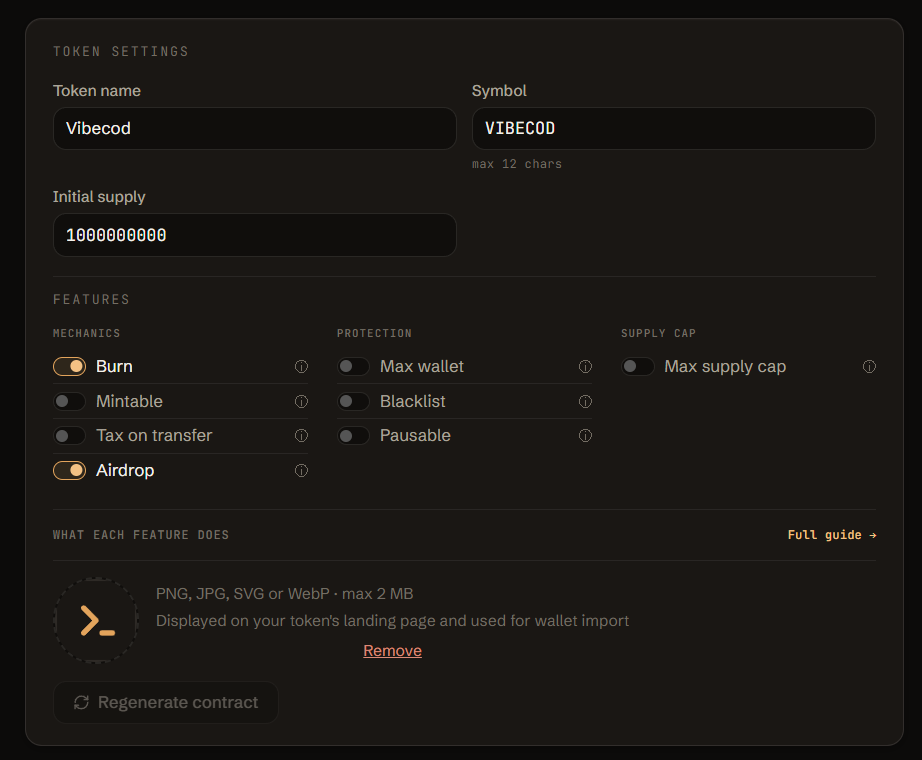
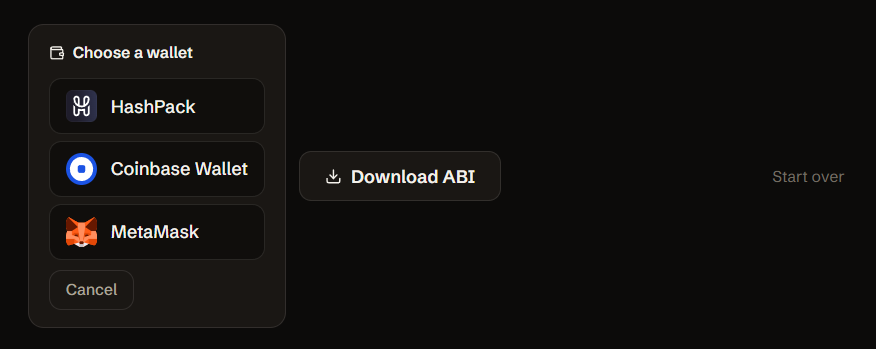
Connect your wallet. One confirmation.
We clicked Deploy, chose Coinbase Wallet, and were shown a confirmation screen. We opted for the Deploy + Premium bundle — paying 0.009 ETH in a single transaction to get the deploy fee and the premium landing page at once.
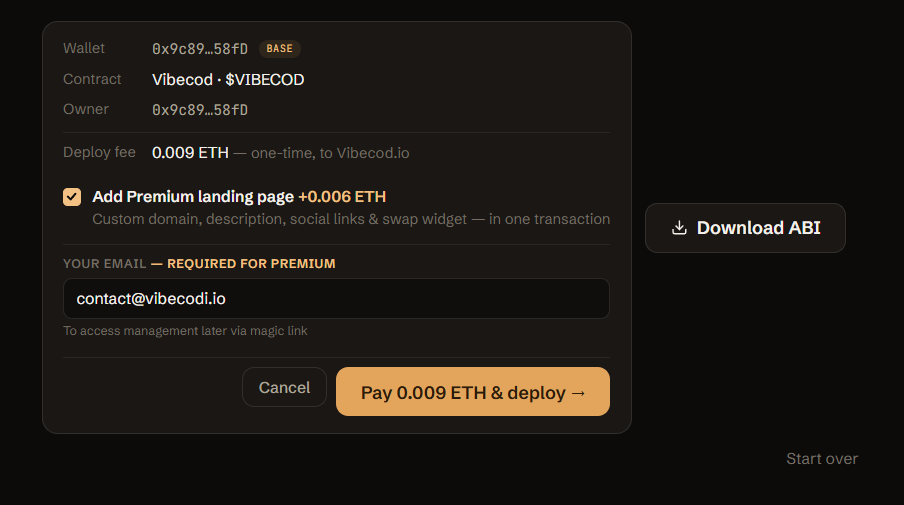
0.003 ETH 0.006 ETH 0.009 ETH ~$0.20 Signed in the wallet. Live on-chain in seconds.
After paying the fee, we signed the deployment transaction. The contract was on Base mainnet in under 5 seconds. The platform automatically submitted the source code to BaseScan for verification.
0x — to be added after deployment 0x — to be added after deployment Base mainnet 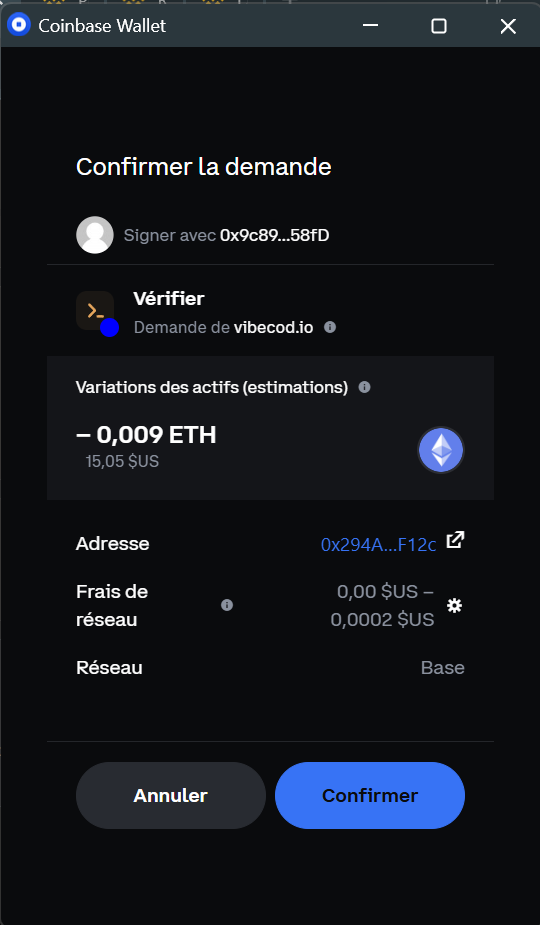
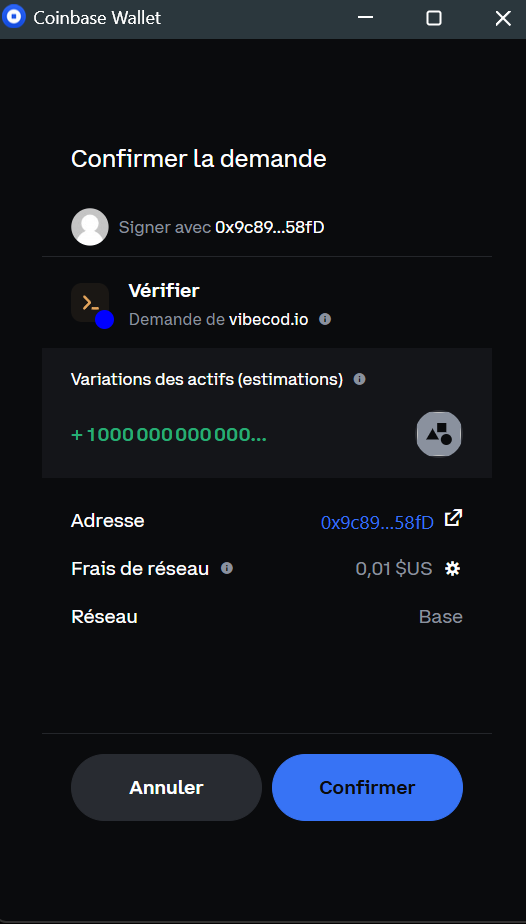
$VIBECOD does. A public page, ready to share.
Every deployed token gets a landing page instantly. Ours was live at vibecod.vibecod.io the moment the contract was confirmed. We got the management URL to edit it later.
We added the full project page.
Because we chose the bundle at deploy, premium was already active. We filled in the description, added our Twitter and Telegram links, and the Uniswap swap widget appeared automatically once the token was listed. The page moved to vibecod.vibecod.io — the clean domain.
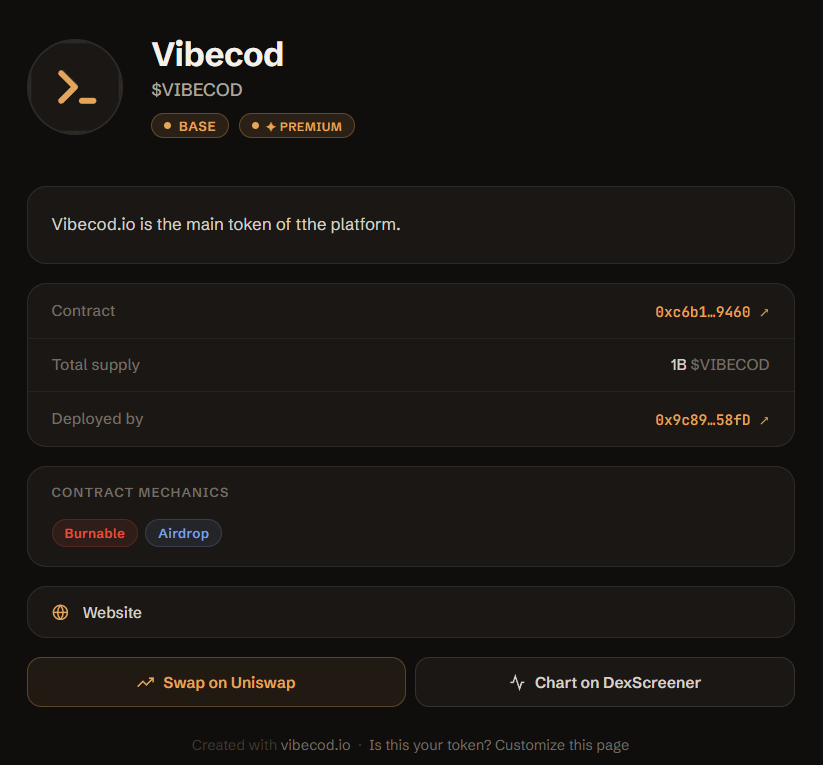
vibecod.vibecod.io Ready to launch yours?
Describe your token in plain language. Your contract is ready in under a minute.
Create your token